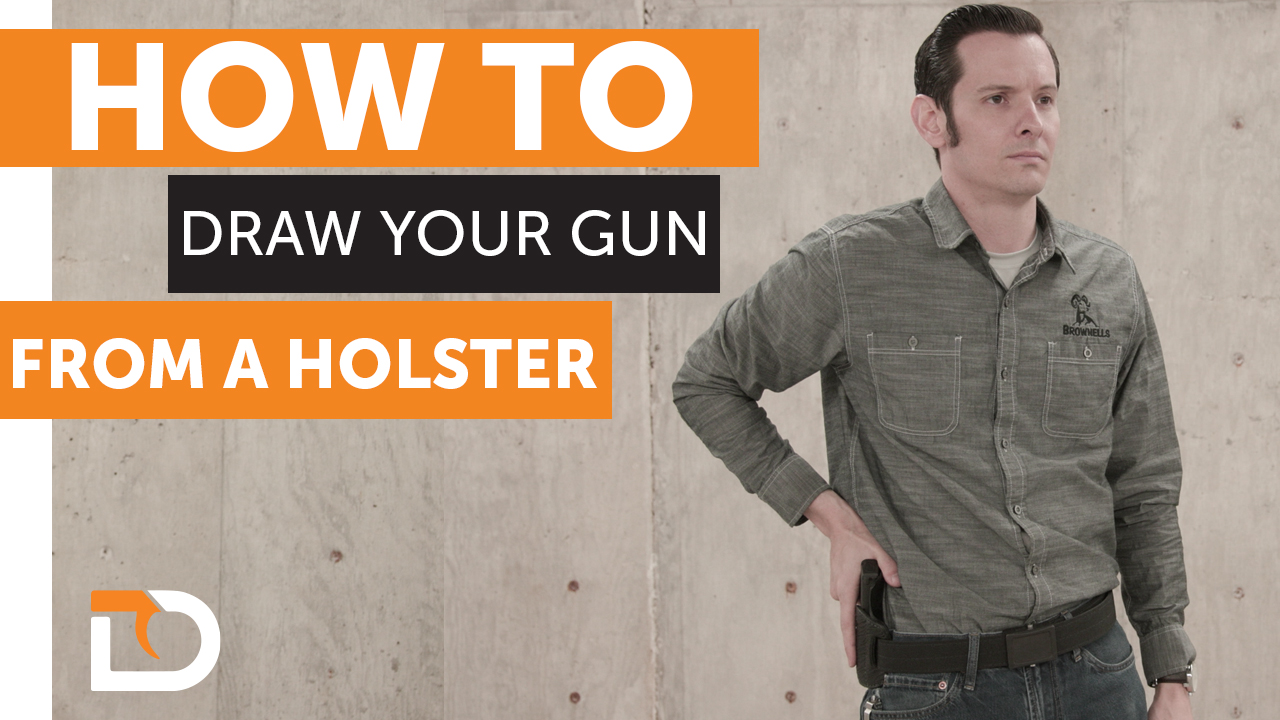
Daily Defense 2-10: How To Draw Your Gun from a Holster
A good way to learn the basics of drawing a gun from a holster is to start practicing with an "open carry" outside-the-waistband (OWB), strong-side holster. Jeff breaks down the draw stroke into discrete steps or positions: (1) "Grip" position - gun in holster, ready for your strong hand to contact it. (2) "Contact" position - strong hand grasping the grip, with the gun still in the holster. (3) "Compressed ready" position - strong and support hands on gun, with rear of gun held against the chest. (4) "Firing" position - gun extended, target positively identified, and trigger finger on the trigger. Folks who have taken a basic handgun shooting class should already know the "Ready" and "Firing" positions, so that's why Jeff recommends "reverse engineering" the draw stroke and practicing the steps BACKWARDS at first, repeating each step multiple times. Start in the firing position, move back to the ready position, then return to firing position again. While moving from "Ready" to "Contact," Jeff also demonstrates the correct, safe way to reholster your pistol. Get each step down, and only THEN start practicing them in normal order, S-L-O-W-L-Y at first, thinking about each one as you do it. Then move up to half speed, compressing the individual steps into more fluid movement, and finally go full speed. Spend a lot of time practicing slowly before picking up the pace. Be sure to get a solid grip on the gun as soon as you contact it in the holster. Don't let the support hand lag behind. You want to achieve final firing grip with both hands on the gun while it's still close to your chest in the "Ready" position, so you're prepared to fire when you get on target.


